Thursday, February 27, 2014

Super Chippy Dresser

I started this dresser out with a very different idea of what I wanted, but I realized that my decoupage skills absolutely stink and I need lots and lots of practice. I had three different images that I had to sand off and start over. So I went to my old fall back of a French Graphic, (which is ok, they always sell)
and I like the way she turned out.
The dresser was a curbside find and solid wood, which always makes me happy.
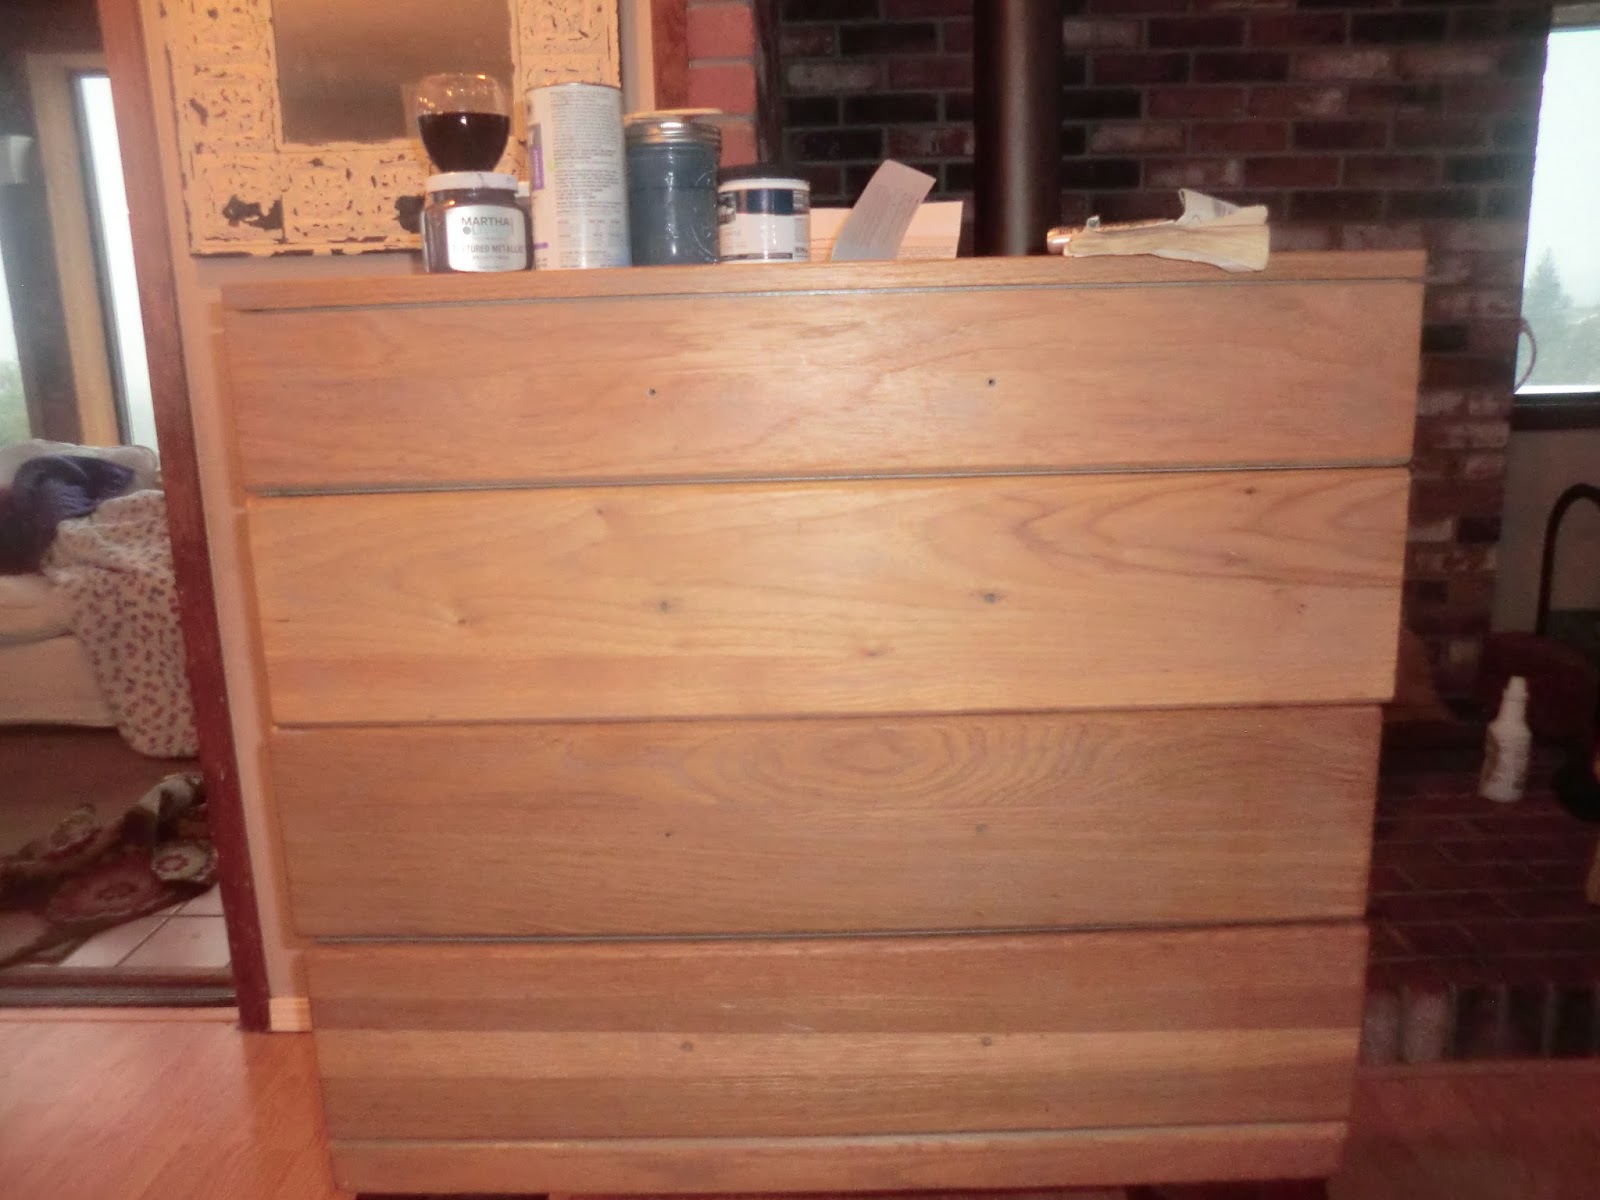
 She was very simple and clean,(you see the painting essentials up on top of the dresser, some paint, some grout, sand paper and the most important the wine...)

I also found some legs on the side of the road, that I thought I would add to give this simple gal a little elegance, it's kind of like high heels for a dresser.

I wanted a super chippy look, which is not usually my style, but hey I like to mix up. I used Vaseline, to achieve a multi layer chippy effect.
I did layers of grey, black, white, and gold. I also used Martha Stewart's textured copper paint to add a little dimension.


And one more after.

Thanks for stopping by.

Saturday, February 1, 2014

Black and Gold

   I love the way the wood looks peeking through the black, and the color of the wood on this beauty was the perfect tone.

So I pulled out my black and got started. This gal is a pretty gal, but she needed to be dolled up, so I chose to do a French graphic from The Graphics Fairy in Gold, and the top in a metallic gold. I added some vintage knobs, and I love how she turned out.


One more after.

best part of doing this project is we got some well needed SNOW! Finally!
View from my deck. I am so blessed.


Clutch Dog was pretty happy for snow as well.

Tuesday, January 21, 2014

Top Ten of 2013

Hi there, hope everyone has been enjoying 2014 thus far. We have lots of changes in the works for our family, it is turning out to be a crazy and exciting year. So here are my top ten of 2013.
 
#10


#9
 
 
#8
 
 
#7
 
 
#6
 
 
#5
 
 
#4
 
 
#3
 
 
#2


AND # 1


Hope you enjoyed. I wish you all a very happy and blessed 2014.
 
Linked to


Tuesday, December 10, 2013

Sugar Bowl Coffee Table

I just finished up a table for a lovely client. She is blessed to have a beautiful view of Sugar Bowl Ski Resort.
 
We wanted to incorporate the picture in the coffee table.
 
 This is the table I was working with. It had a veneer top, so I took the top off, and replaced with a reclaimed wood, from one of the cabins that had been torn down around Donner Lake.
I tried to do a transfer, but the picture was to small, and the table to large. So I decided to paint the image.


and here is a side by side comparison.
 
 
Hope you enjoyed. Have a great day.


linked


Friday, November 8, 2013

Transfer Method Madness

So I have been obsessed with figuring out this transfer thing. I have tried EVERYTHING! I started with an inkjet printer and wax paper which worked alright for simple images, but a bit smudgee on images with a lot of detail. So I bought myself a laserjet printer and tried a few different methods.

This was done with the iron on method. I printed an image as a mirror image and put it face down and ironed the paper until the transfer appeared. Not to shabby.

I did this with a gel medium and paper. I know now it would have turned out better if I was more patient. I also tried paint thinner and had no result. I will have to play with this method more.

So I decided to do a large image with the Gel medium process (and be patient this time.) I was going for an old Holy card  look.

So I took this image from thegraphicsfairy and reversed it.

I then used blockposters to blow up the poster.
 
I then added a gel medium and put the image on face down and let it dry for a few hours.
The wood is from an old end table that was not a  salvageable piece


After a few hours wet down your paper and roll the paper away with your fingers. BIG TIP, do a little at a time and let the paper dry. See sweet baby Jesus and St. Joseph starting to peak through and say hello.
This is what it will look like between rub downs.

After peeling and drying, and peeling and drying , I started to get the look I was going for, An old and tattered Holy Card.
I used restore a finish on top to blend the piece and sealed it with a clear polyurethane.


I just love how baby Jesus is holding Joseph's halo.

Hope you enjoyed.
 
Kathryn
 
 
Linked

Monday, October 21, 2013

Dinning Table to Coffee Table

I am sure this table was a great little Kitchen table at some time. When I picked her up she had some missing chunks on her lower legs. So quick solution, cut them off make her and outstanding coffee table.
Here she is with shorter legs.
 
I decided to go with a poppy red base and a graphic from the Graphics Fairy, with restore a finish on top. I pulled out my trusty over head projector, and had it.
Here is the middle step before filling the red in on the letters.


Here is the finished result. I love the way it came out.


Check me out on facebook and thanks for stopping by.
 
Kathryn


Link
kammyskorner
arttisbeauty
diybydesign
gingersnapcrafts
somedaycrafts
nominimalisthere
embracingchange
frenchcountrycottage
thecharmofhome
remodelaholic
missmustardseed
funkyjunkinteriors